11 Mar Quick Tip: Set Up a Family Donation Box
Setting Your Kid(s) up for Success: Set up a Family Donation Box
This is an easy tip to implement, but that can make a world of difference for your family.
A basic organizing principle used by most professional organizers is that everything should have a home — even those “I don’t know where this goes yet” items and especially the items set aside for donation.
This is why I highly suggest to my clients to implement a donation box to set their family up for donating success. To pull from the movie Field of Dreams: if you create it, it will get filled! Maybe that’s wishful thinking on my part.

Here are some quick tips for successfully using your family donation box:
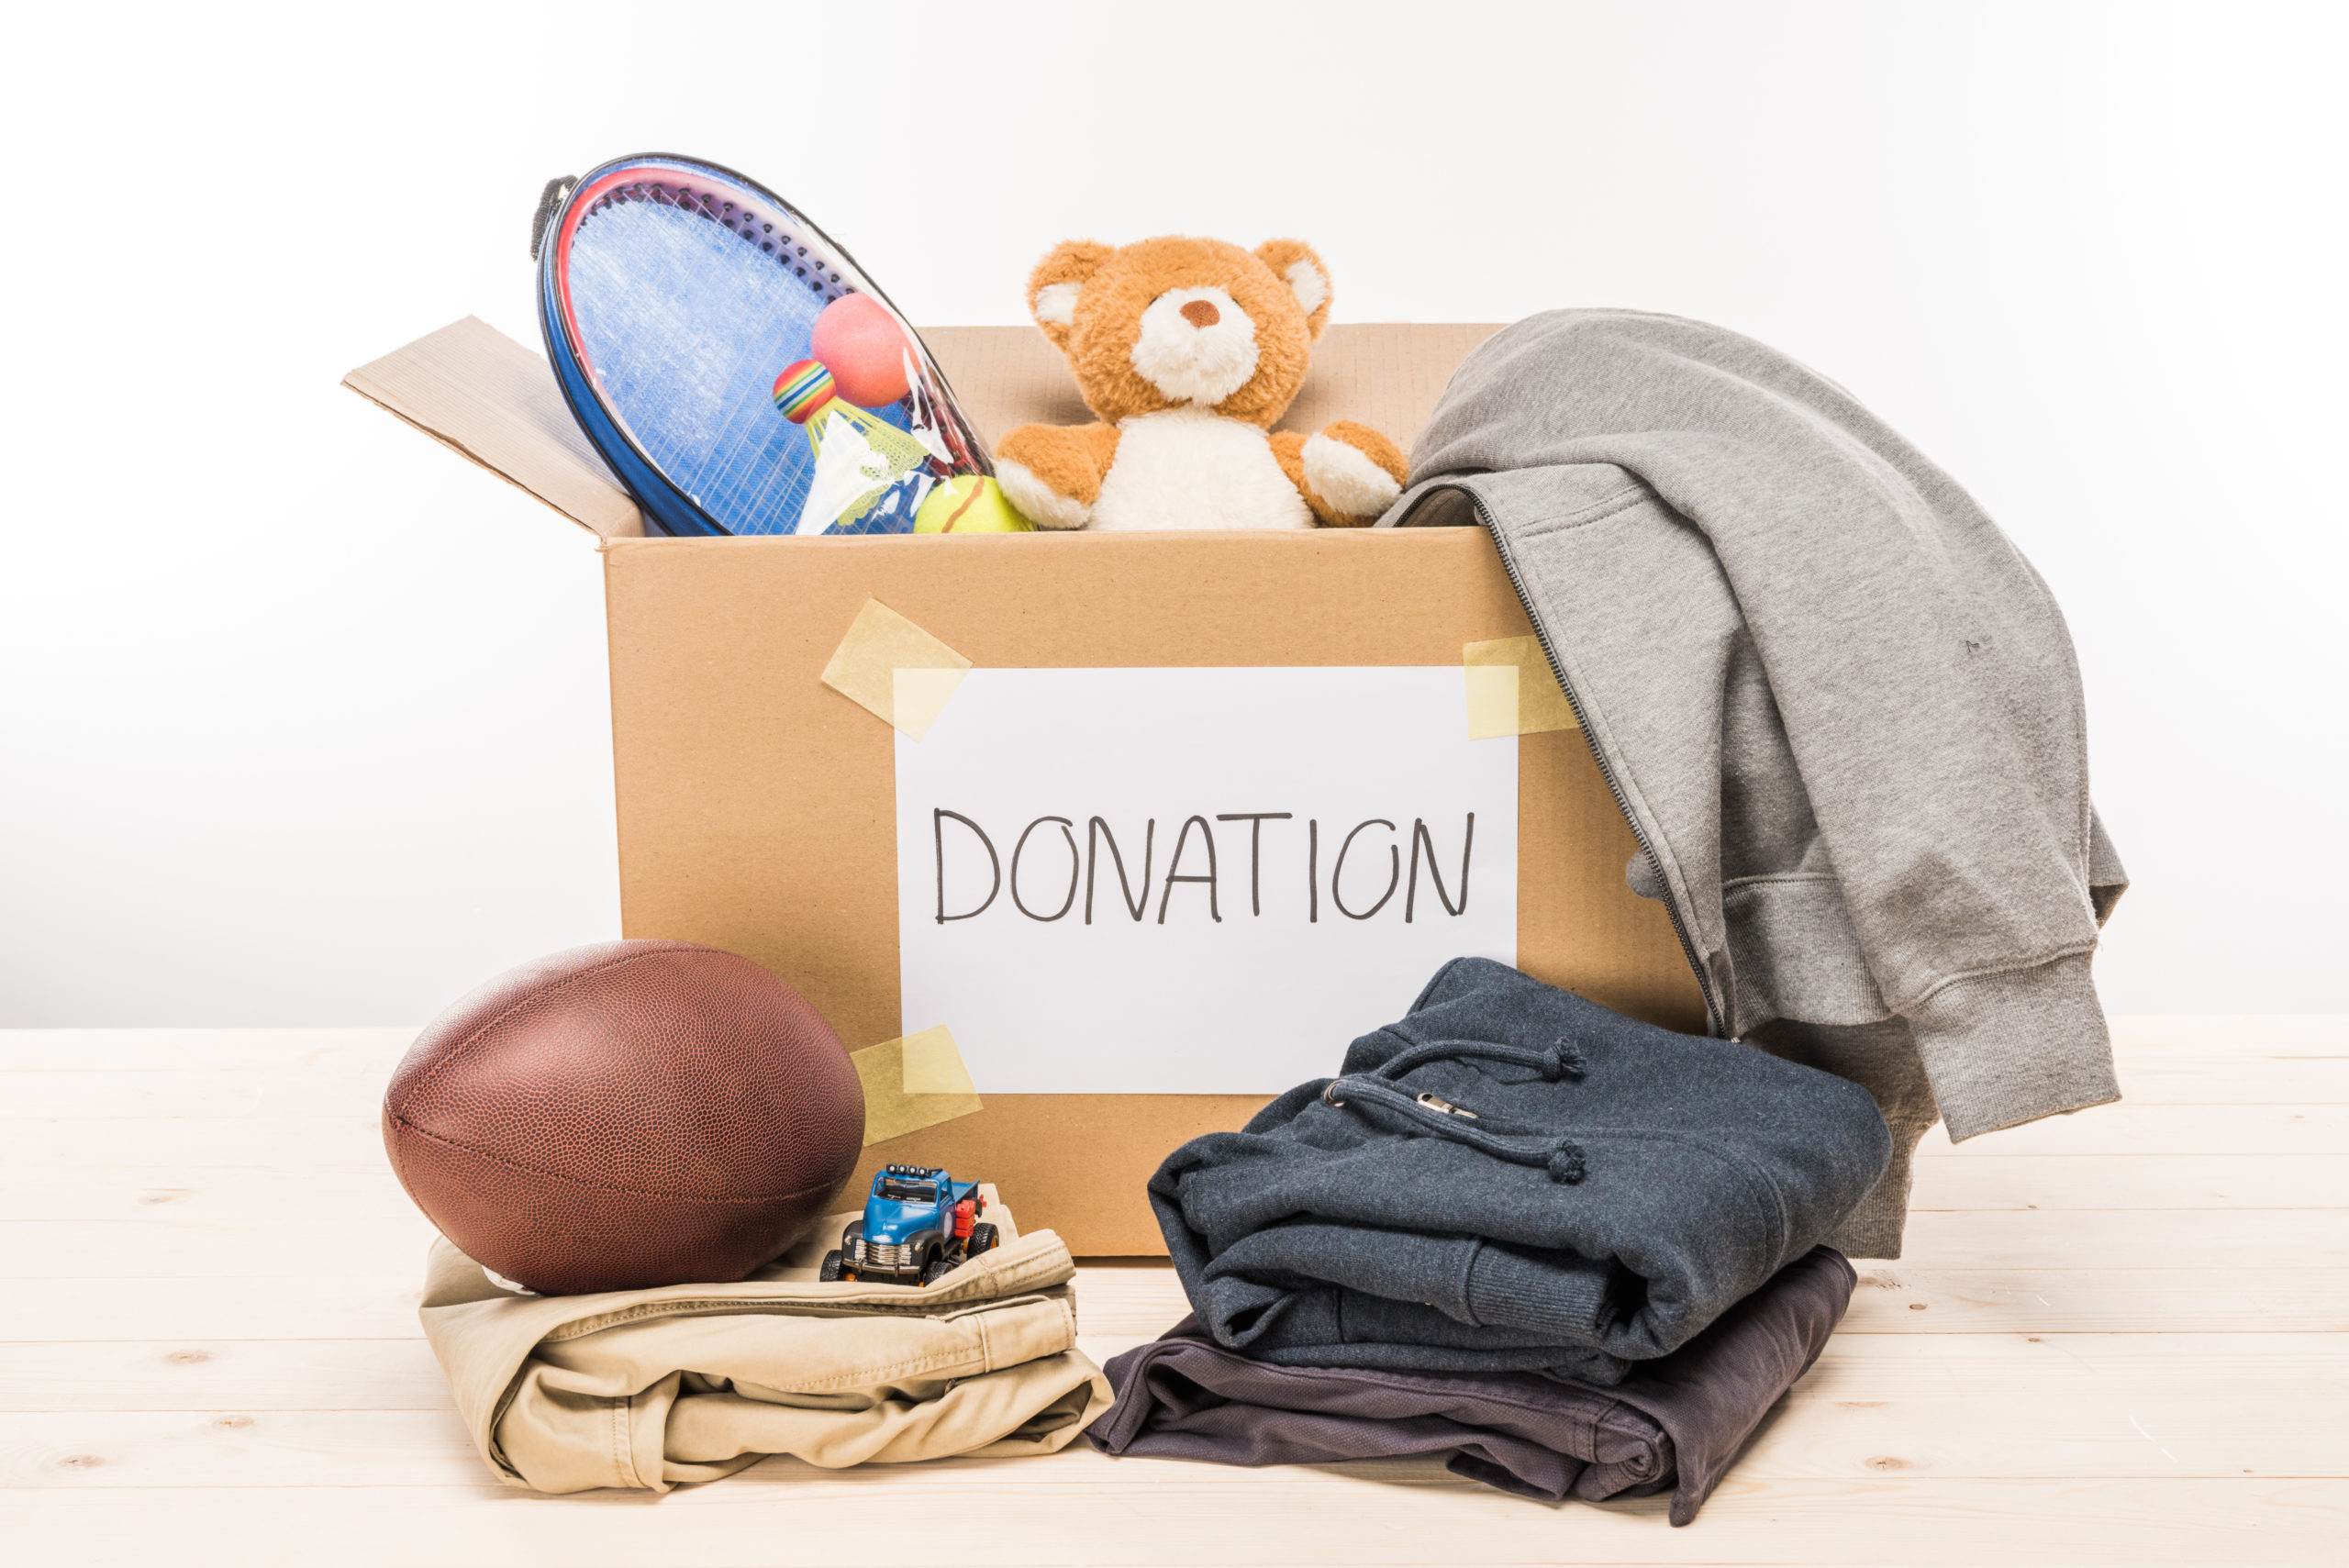
1. The donation box should be placed in a common area of the home where it can be easily reached by most family members (you ideally do not want it too low, lest your toddler pulls all the toys and clothes out, creating a big mess; yet you want it accessible for older kids). You may choose to put it in the garage, the mudroom, or the laundry room – ideally at hip height.
Optional: you may choose to have more than one donation box in more than one room. For example, if you have a young child who quickly grows tired of toys, or is in a growth spurt and is constantly growing out of their clothes, have a donation box in their closet where you can quickly add items at a moments notice.
2. The box should be approximately the size of a banker’s box or small box. While some items may be too big to fit in the box, generally we want it big enough for most donation items, but not so big that small items easily get lost in the mix. You also want to be able to pick it up and easily put it in your car when it’s full. Once it’s full, that is your visual indicator to take it to to your nearest donation center. The key here is to not have boxes and bags pile up in an area of the garage or house, only to sit there for months at a time (which reminds me of this meme):

Optional: you can use an Amazon or shipping box, and replace it each time you take the old box to donation. Or you can use a plastic bin, and then bag up the donations (in grocery bags, reusable bags, or trash bags) to take away, leaving the bin to remain as permanent fixture.
3. Explain the rules. Everyone should know where the box is and how to use it. Older kids should be encouraged to add in items they no longer need, use or want. Parents can review items one in the box, as needed. Tell all family members that broken or soiled/stained/torn items cannot be donated and need to be disposed of in another way (e-waste; fabric recycling; trash).
All kids (and parents) should understand that what goes into the box does not come back out.In order to achieve this make a rule that no one puts items in the box that aren’t theirs to begin with. Parents shouldn’t donate each others items without a discussion. And if you think your child is no longer playing with a toy and you want to get rid of it, don’t put it in the box. Talk to them first. Ask if they still like it and are playing with it. Hopefully they will agree they don’t want it, and will put it in the box. If they don’t, point out that they have not played with it in x-months. Remind them that your family values include donating unused/unwanted/unneeded items. Set a rule that if the items is not played with in 1-month, they must put it in the box. Then make sure to follow through on this!
Get kids used to flexing their donation muscle, pointing out that in order for new items to come in and have a home, old items must leave the house. Once they practice this a few times, it will become second nature.
4. Get the whole family involved. When it’s time to take the donations to a local charity or donation center, do it as a family. First of all, there’s accountability in this which means a higher probability of getting those donations out of the garage. Second of all, it reinforces to your kids that the items go somewhere, and it’s important for them to see where “somewhere” is. This may help them to more easily give up items in the future.Take them to different donation places (animal shelters, homeless shelters, hospitals, charitable donation centers, thrift stores, etc.) so they can see the difference they are making. Afterwards, grab an ice cream or have a meal and discuss with them how they feel about donating and helping those less fortunate. Make it a positive experience and help them vocalize and understand their feelings around donating.

To RECAP:
- Create a box and place in a common area.
- Keep the boxes at a reasonable size, and take the donations when the box is full.
- Explain the rules.
- Get the whole family involved through action and discussion.
Do you have a donation box? Where do you keep it? What are your rules and how has this changed the way your family processes items in the house? Please share with us below.


No Comments